
Peach Pitaya Tahini Smoothie aka The Endless Summer Smoothie

This post is sponsored by Pacific Foods.
Hey honey bees! Can you believe it’s August already? I saw Halloween candy in Wegmans the other day and it made me cry a little bit on the inside. And although I def will continue to side-eye the candy corn displays at the groceries / convenience stores, this whole pre-Fall marketing malarky only fortifies my resolve to soak up all that Summertime has left to offer.
Here’s my bucket-list for the rest of Summertime:
- Dangle my toes in the rooftop pool at my gym.
- Do some downward facing dog in the park.
- Groove my booty at at least one more outdoor concert.
- Swim some laps at a local lake.
- Pack a beach picnic and spend a whole day oceanside with my family.
- Go kayaking in Back Bay.
- Find a fancy place to drink kombucha like it's champagne, because my Summer dresses haven't had nearly enough time center-stage.
- Meditate on top of a mountain.
- Go camping with Logan.
- Make s’mores. Ideally while camping with Logan.
- Make at LEAST one more batch of homemade ice cream (with tahini involved).
- Survive Burning Man.
- Frolic through at least one field of flowers.
- Eat at least 1000 more watermelons.
- Drink more raw coconut smoothies!
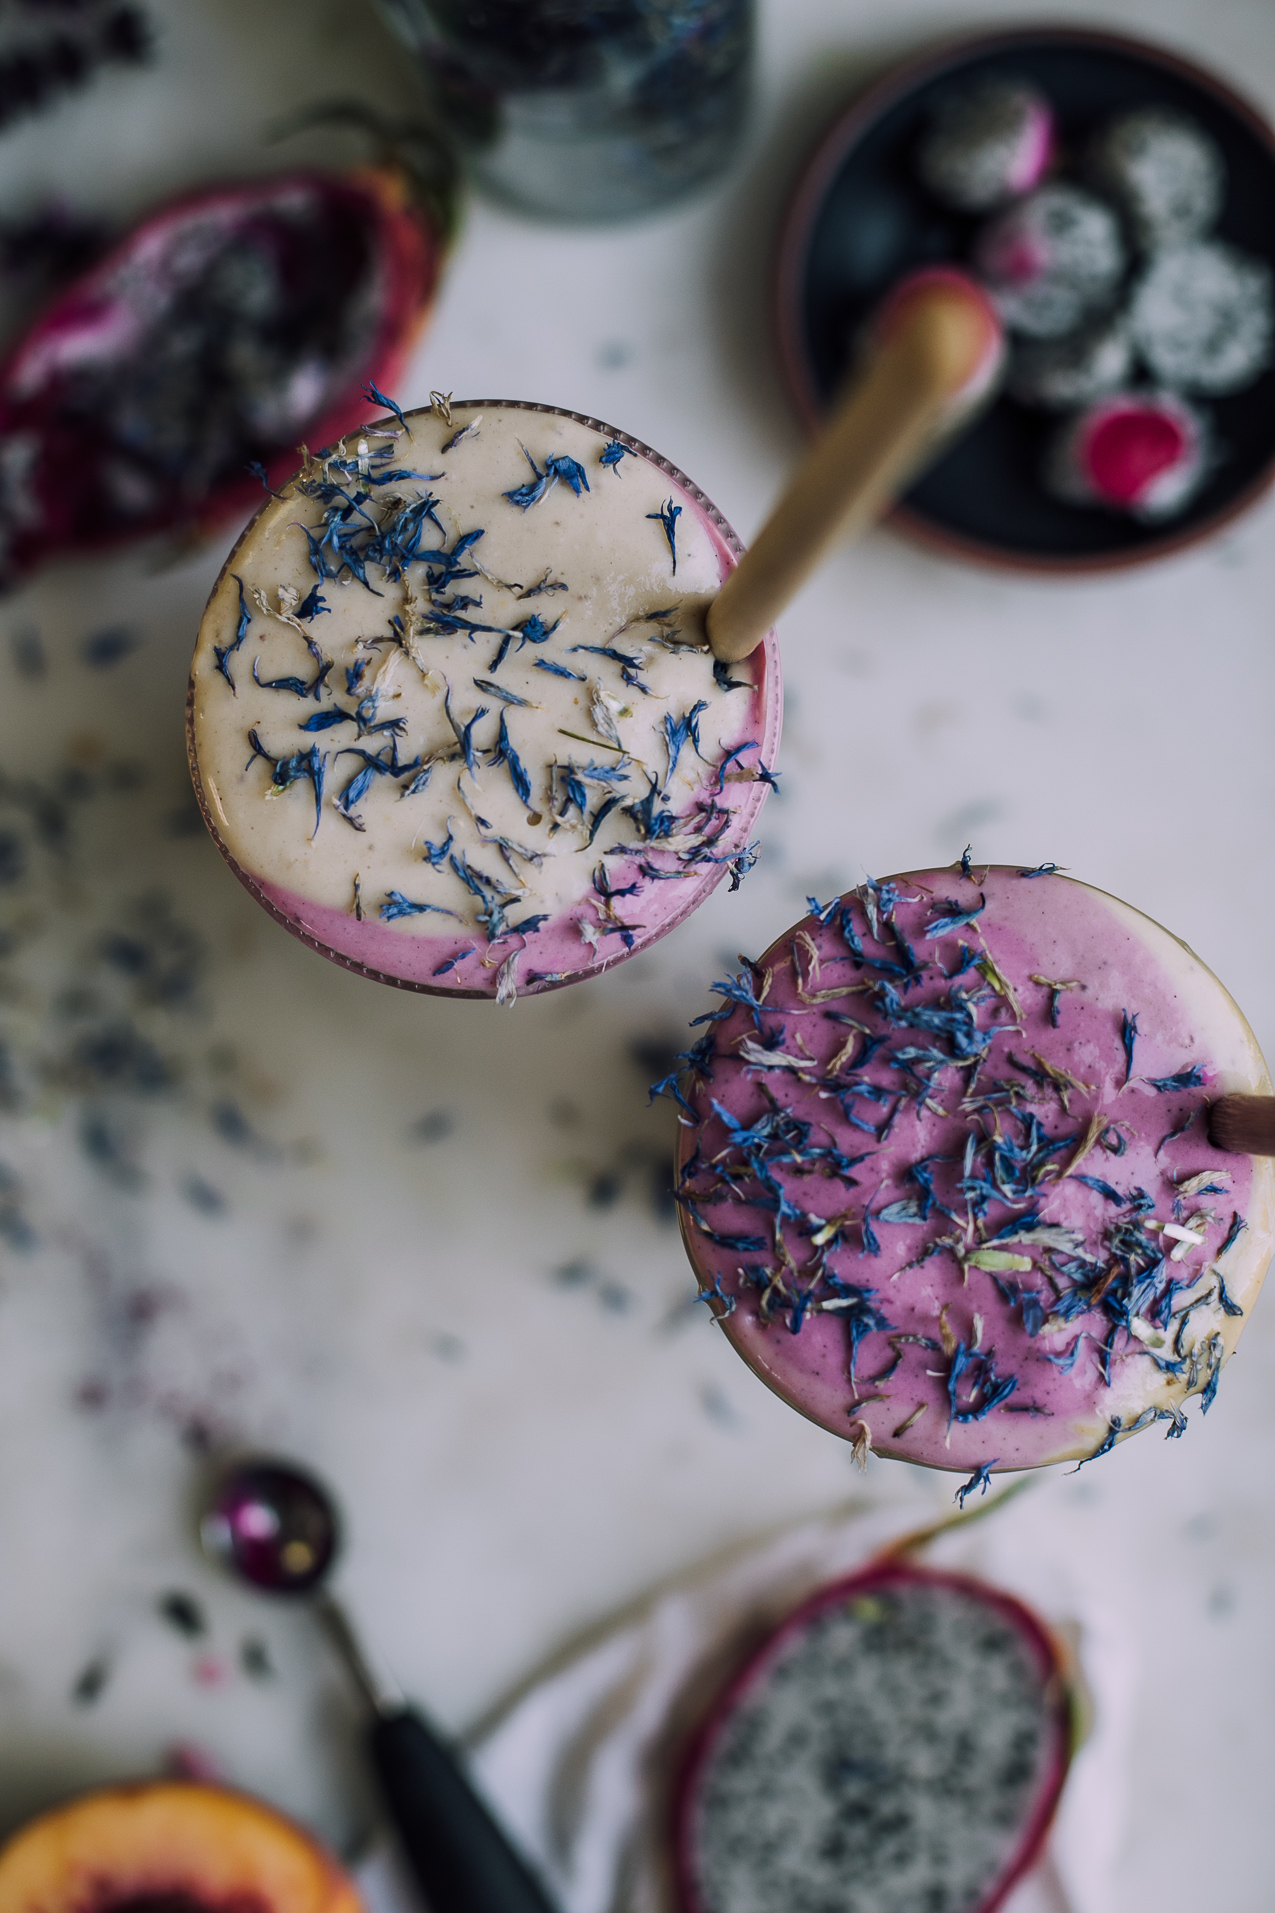
Todays smoothie is inspired by the color of late-Summer sunsets over the ocean, particularly one memory I have of an evening sky painted in cotton-candy colors: magenta, pastel pinks and soft blues. I automatically associate coconut-based smoothies with memories of boogie boards getting lost in the waves, sandy sandwiches and wandering around my beach hometown all day with no shoes on. In a way this recipe is a dedication to those care-free days of sunshine and Back Bay magic that constantly inspire the landscape of my dreams.
I would say this peach pitaya tahini smoothie is about as close as I've ever gotten to creating my ultimate fantasy smoothie. It includes raw thai coconut meat, perfectly ripe yellow peaches, tahini (!!!), coconut yogurt, banana, dates, cardamom and pitaya (dragonfruit). It tastes like peach halva! And it looks kind of like… well, if Dr. Seuss ordered a milkshake from the lovechild of David Wolfe (freaky raw vegan conspiracy theorist) and Beth Kirby (Local Milk). Whimsical, a little trippy, a little surrealist chic.
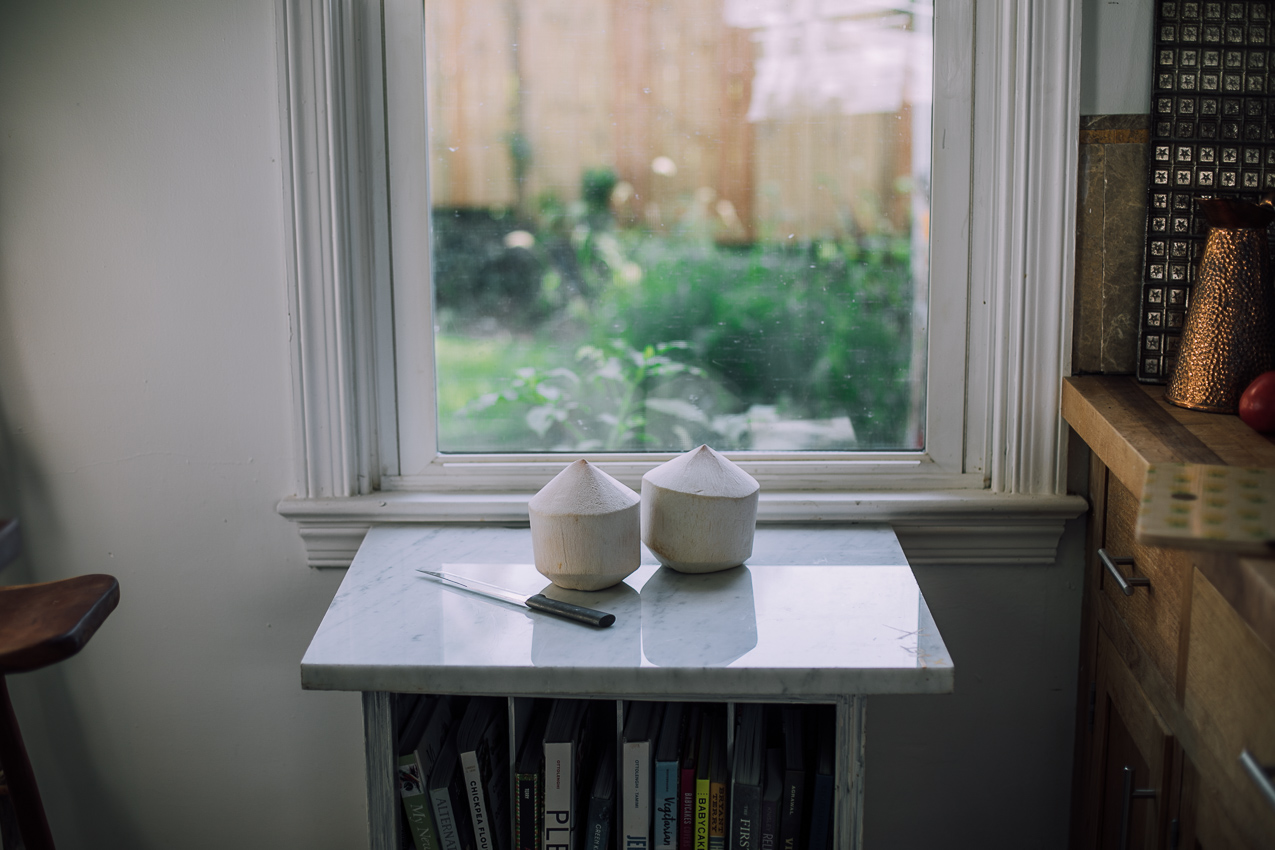


How to Open a Thai Coconut in 1 Minute
Now I know what you’re thinking. Opening a Thai coconut to get the meat out is daunting. But once you get over the mental hurdle of having to beat the crap out of something with a sharp object, hopefully you'll feel empowered and stoked to try it again and again.
Laura of The First Mess posted a great step-by-step tutorial for this last year! My method has evolved over the years and it's essentially the same as Laura's. The main difference is that I keep the coconut on it's side as I'm cutting into the actual coconut shell (beyond the woody husk), which keeps the knife at the right angle to break into it quickly.
Here's how I open Thai coconuts!
Step 1: Procure a sharp "beater" knife aka a cheap, ugly knife you wouldn't care about chipping.
Step 2: Procure a thick oven mitt that fits over your wrist.
Step 3: Remove any plastic wrapping around your Thai coconut.
Step 4: Turn the coconut on its side.
Step 4: Place the oven mitt over your left hand, put the knife in your right hand (unless your left handed, in which case do the opposite).
Step 5: Hold the coconut with your left hand (the one with the mitt on it).
Step 6: Saw away the wood on the top of the coconut, cutting towards the tip of the coconut and away from your body. Keep turning the coconut and slicing the wood off of the top until a 3 inch circle of the hard inner coconut surface is visible.
Step 7: Use the heel of the knife to whack at the edges of that circle of exposed coconut shell, turning the coconut in a circle to whack all the way around. You'll really have to bang the sh*t out of it, so channel some rage at an ex-lover or something.
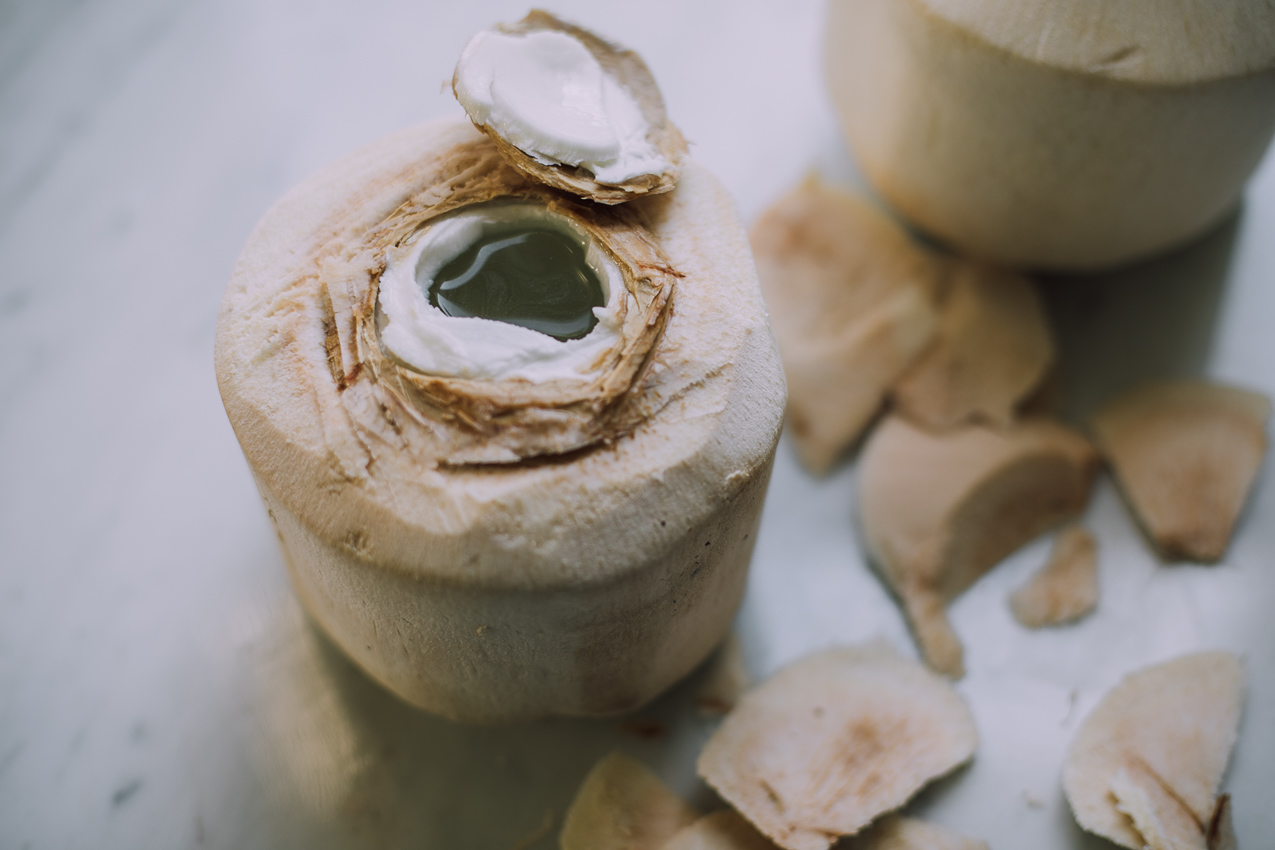
Step 8: Once the shell starts cracking, whack around that whole circle one or two more times, until you have around half a circle cracked open. Set the coconut right side up. Use a butterknife or spoon to wedge the top open. Voila! Pour all of the water out into a large bowl, then scoop out the coconut meat.
I like to do about 4 coconuts at a time. I store the coconut water in a huge mason jar. And any of the coconut meat I don't use up immediately I place in zip-lock bags and freeze.
Bonus tip: Use a sharp-edged spoon to get the meat out. I like to run the spoon all over the bottom of the coconut first, and then I run it around the top inner edge in a circle.
Now this sounds like a lot of steps. But once you've got the hang of it I swear it only takes 1 minute. And it's the least messy way of doing it, especially if you line your cutting surface with a big cloth. I don't usually line my surface; I use a bread scraper to clear off my surface when I'm done.
Oh, and my composting babes out there: coconut shells do not compost quickly. They can take years to decompose (unless you're in a tropical environment). I've tried to compost mine and I still have coconut shells lying around in my backyard from projects I did two years ago. I'm not saying it's not worth it to compost. But maybe don't put it in an active composting bin expecting it to degrade by the time you need compost for your next gardening project.


The Seussian Smoothie of My Dreams
A few notes on this peach pitaya tahini smoothie!
I have at times sounded like a banana h8tr, and I just want to clear that up. I do not hate bananas. They're just not my favorite, and definitely not my go-to smoothie base. For sweeter smoothies I generally go with mango as a base. For low sugar smoothies I stick with berries, avocado, sweet peas or thai coconut meat as my base.
Banana is a highly functional smoothie base, offering both sweetness and a creamy texture. That's why it's so popular! I like to use it in combination with other things so that the flavor of banana isn't so strong. That's just a personal preference. Anyone with me on this one?
If you really don't dig banana, you could sub it in this smoothie for more coconut meat.
This smoothie calls for frozen thai coconut meat. I typically freeze my coconut meat in zip-lock baggies or in wide, shallow tupperware. But honestly you don't need to freeze it. The texture will come out similarly even if using fresh instead of frozen, albeit mildly thinner.
For the colorful layers, I used this pitaya powder. You could also use freeze dried strawberries and powder them in a spice grinder, coffee grinder or blender. The color will be more reddish-pink rather than magenta. I used a few blackberries in the darkest layer to give it a slight lavender tone.
If you have access to fresh magenta-fleshed pitaya you could use that instead of the freeze-dried powdered stuff. You'll have to blend the fruit it into each different layer to get the right colors. If you try that out leave me a comment telling me how it went!
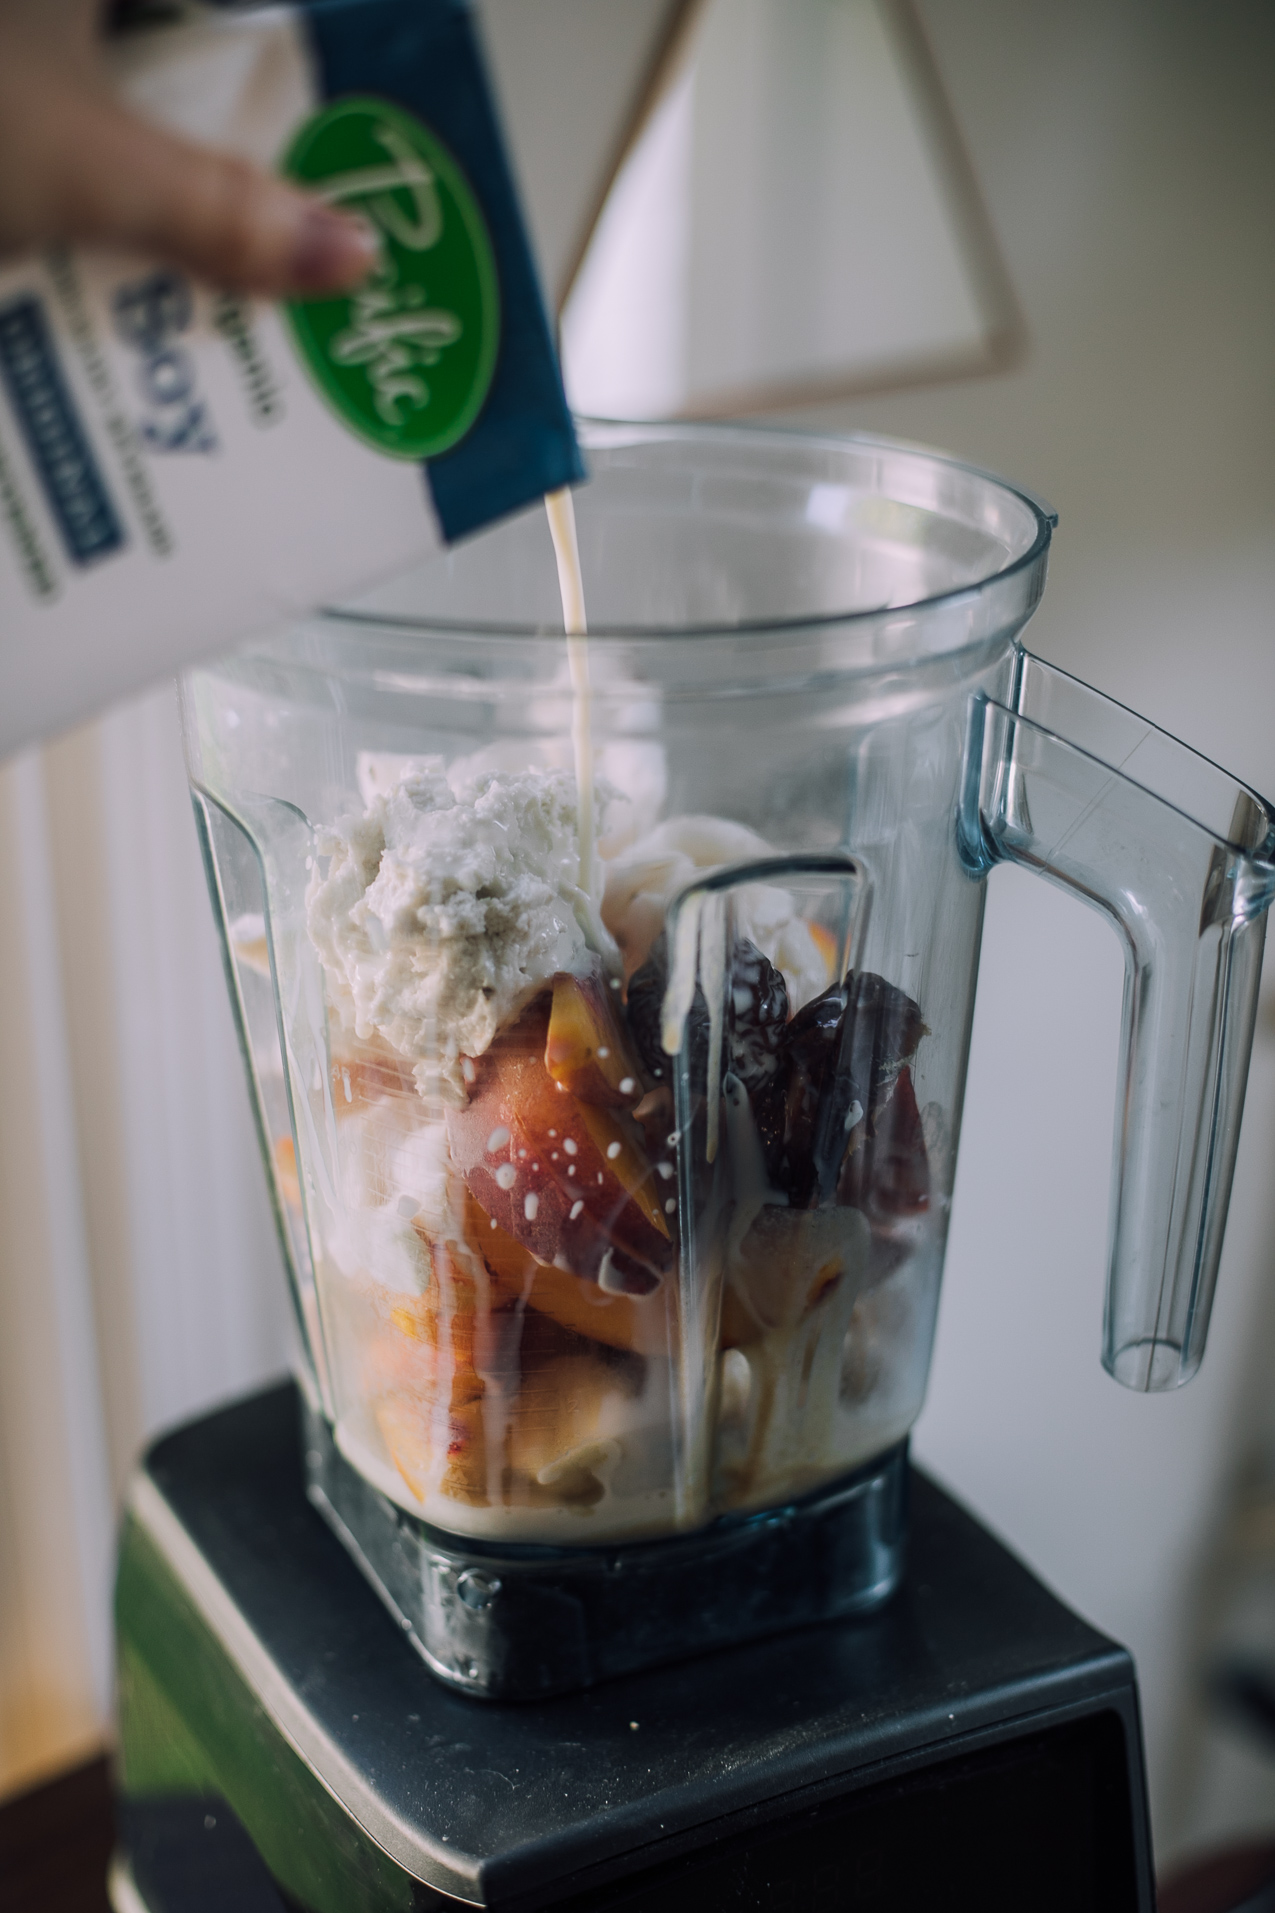
I used Pacific Foods Organic Original Unsweetened Soy Non-Diary Beverage in this smoothie for a hit of protein. There are 9 grams of protein in 1 cup! That's a bit more than most almond milk, and significantly more than most cashew, hazelnut, coconut, hemp, oat or rice milk. And it's just two ingredients: water and whole Organic soybeans. I'm very serious about consuming only Organic soy products; and about consuming as few additive binders and in my diet as possible. So this plant milk hits the mark on both counts!
And for thou who art scared of soy, I give thee this article on why soy is both positively and negatively overhyped, with plenty of science to back it up.
Sponsored by Pacific Foods. I’m proud to be the Non-Dairy Ambassador for Pacific Foods for 2017! Click here for Pacific Food’s free Non-Dairy Made Easy e-book! All opinions, thoughts, ramblings and clairvoyant visions are my own.
Peach Pitaya Tahini Smoothie aka The Endless Summer Smoothie
Created by Renee on August 11, 2017
Note: I made the colorful layers using pitaya powder. You could use freeze dried strawberries instead for a slightly more reddish-pink color — powder in a blender or spice grinder for the same effect. Or omit it for a peachy-taupe smoothie.
- Prep Time: 10m
- Total Time: 10m
- Serves: 2
- Yield: ~4 cups
Ingredients
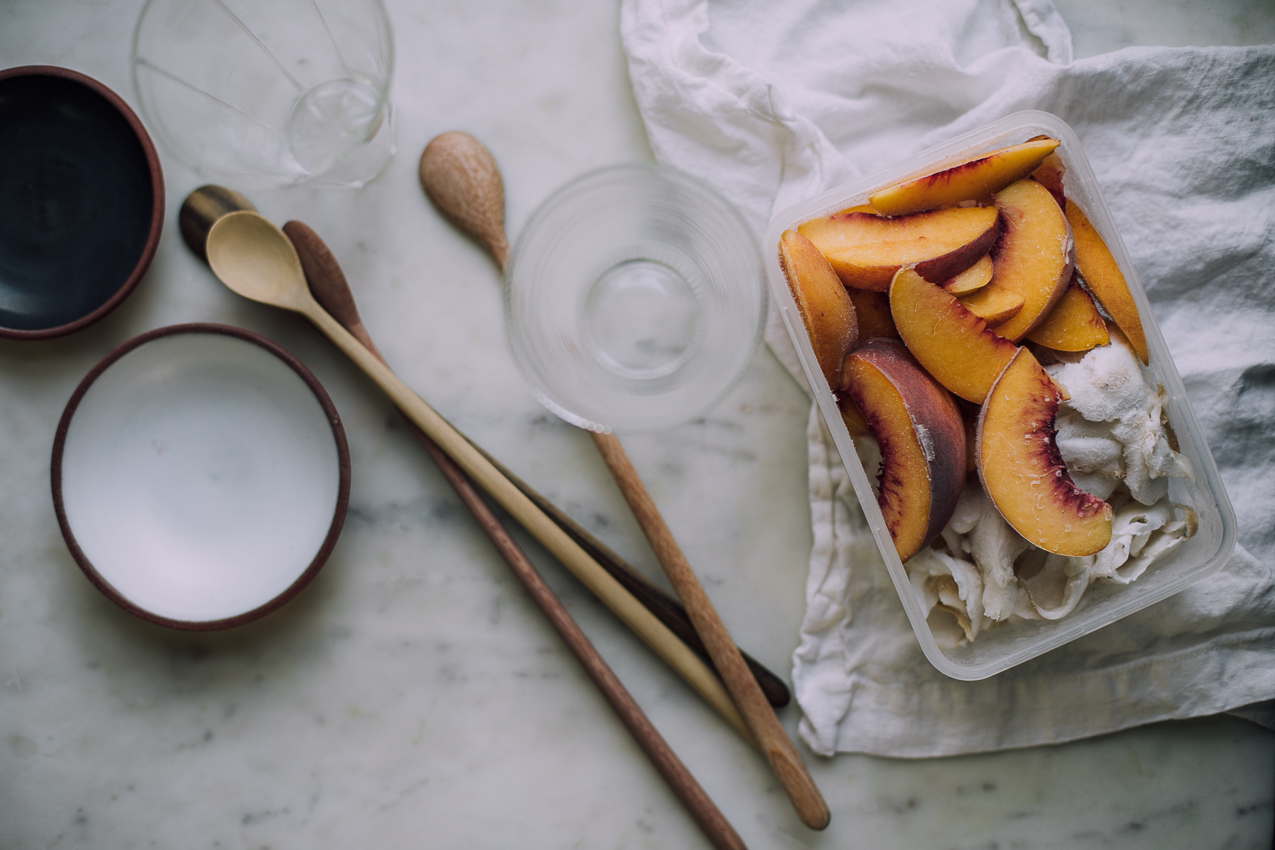
- 1 1/2 cups frozen peaches
- 1 cup frozen thai coconut meat
- 2/3 cup frozen banana
- 2 -4 tablespoons raw coconut yogurt or unsweetened plant based yogurt of your liking
- 1/2 teaspoon powdered cardamom
- 2 tablespoons tahini
- 2 cups Pacific Foods Organic Original Unsweetened Soy Beverage + more as needed
- 2 -3 dates, pitted
- 1 1/2 tablespoons pitaya powder (optional, only if you want the colorful layers)
- 3 frozen or fresh blackberries (for color)
- more tahini, for layering
- more plant-based yogurt, for layering
Instructions
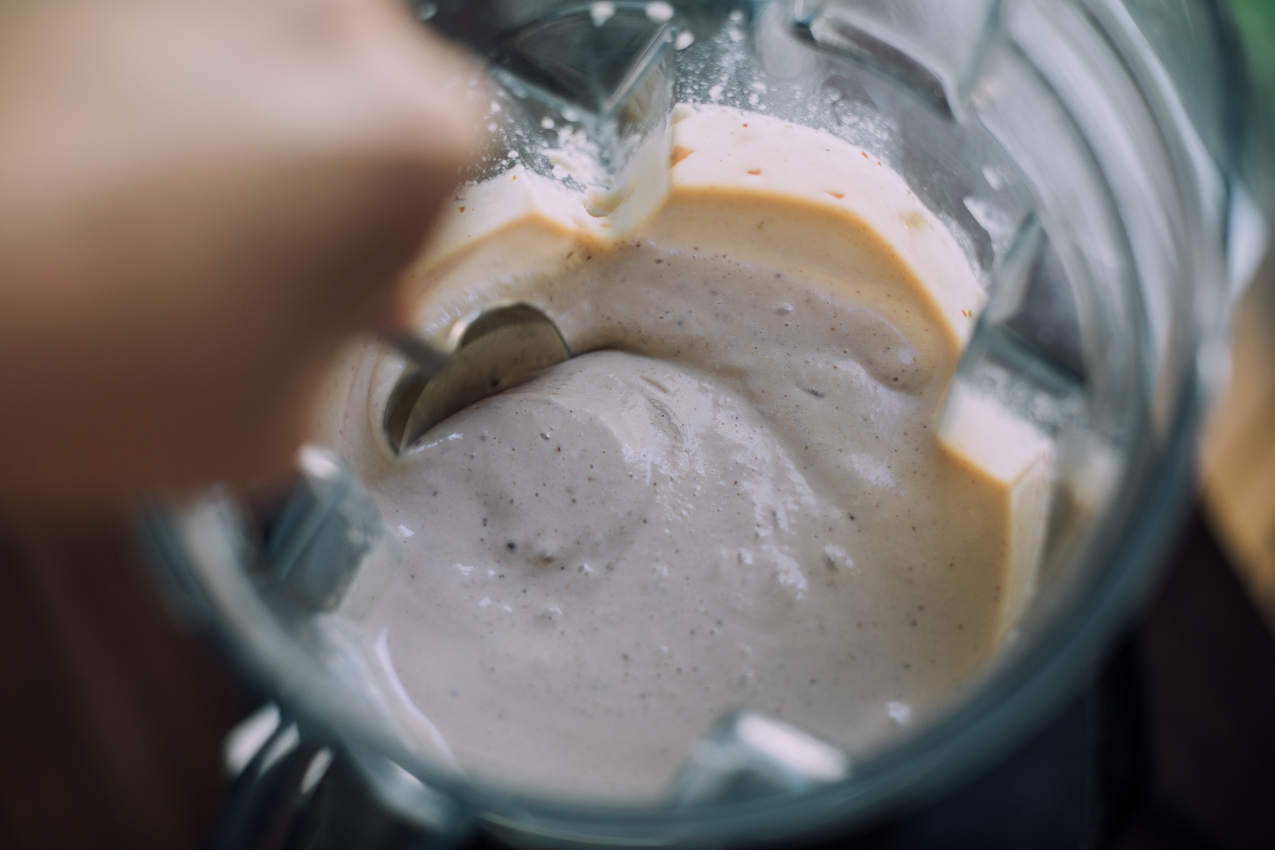
- Combine all of the ingredients (except the pitaya powder, blackberries, extra tahini and extra yogurt) in your blender. Blend on high, adding more plant milk as needed to get the blender going. I used the tamping wand that comes with my vitamix to help the mix come together while blending. Blend for about 30 seconds to 1 minute to get a perfectly smooth potion.
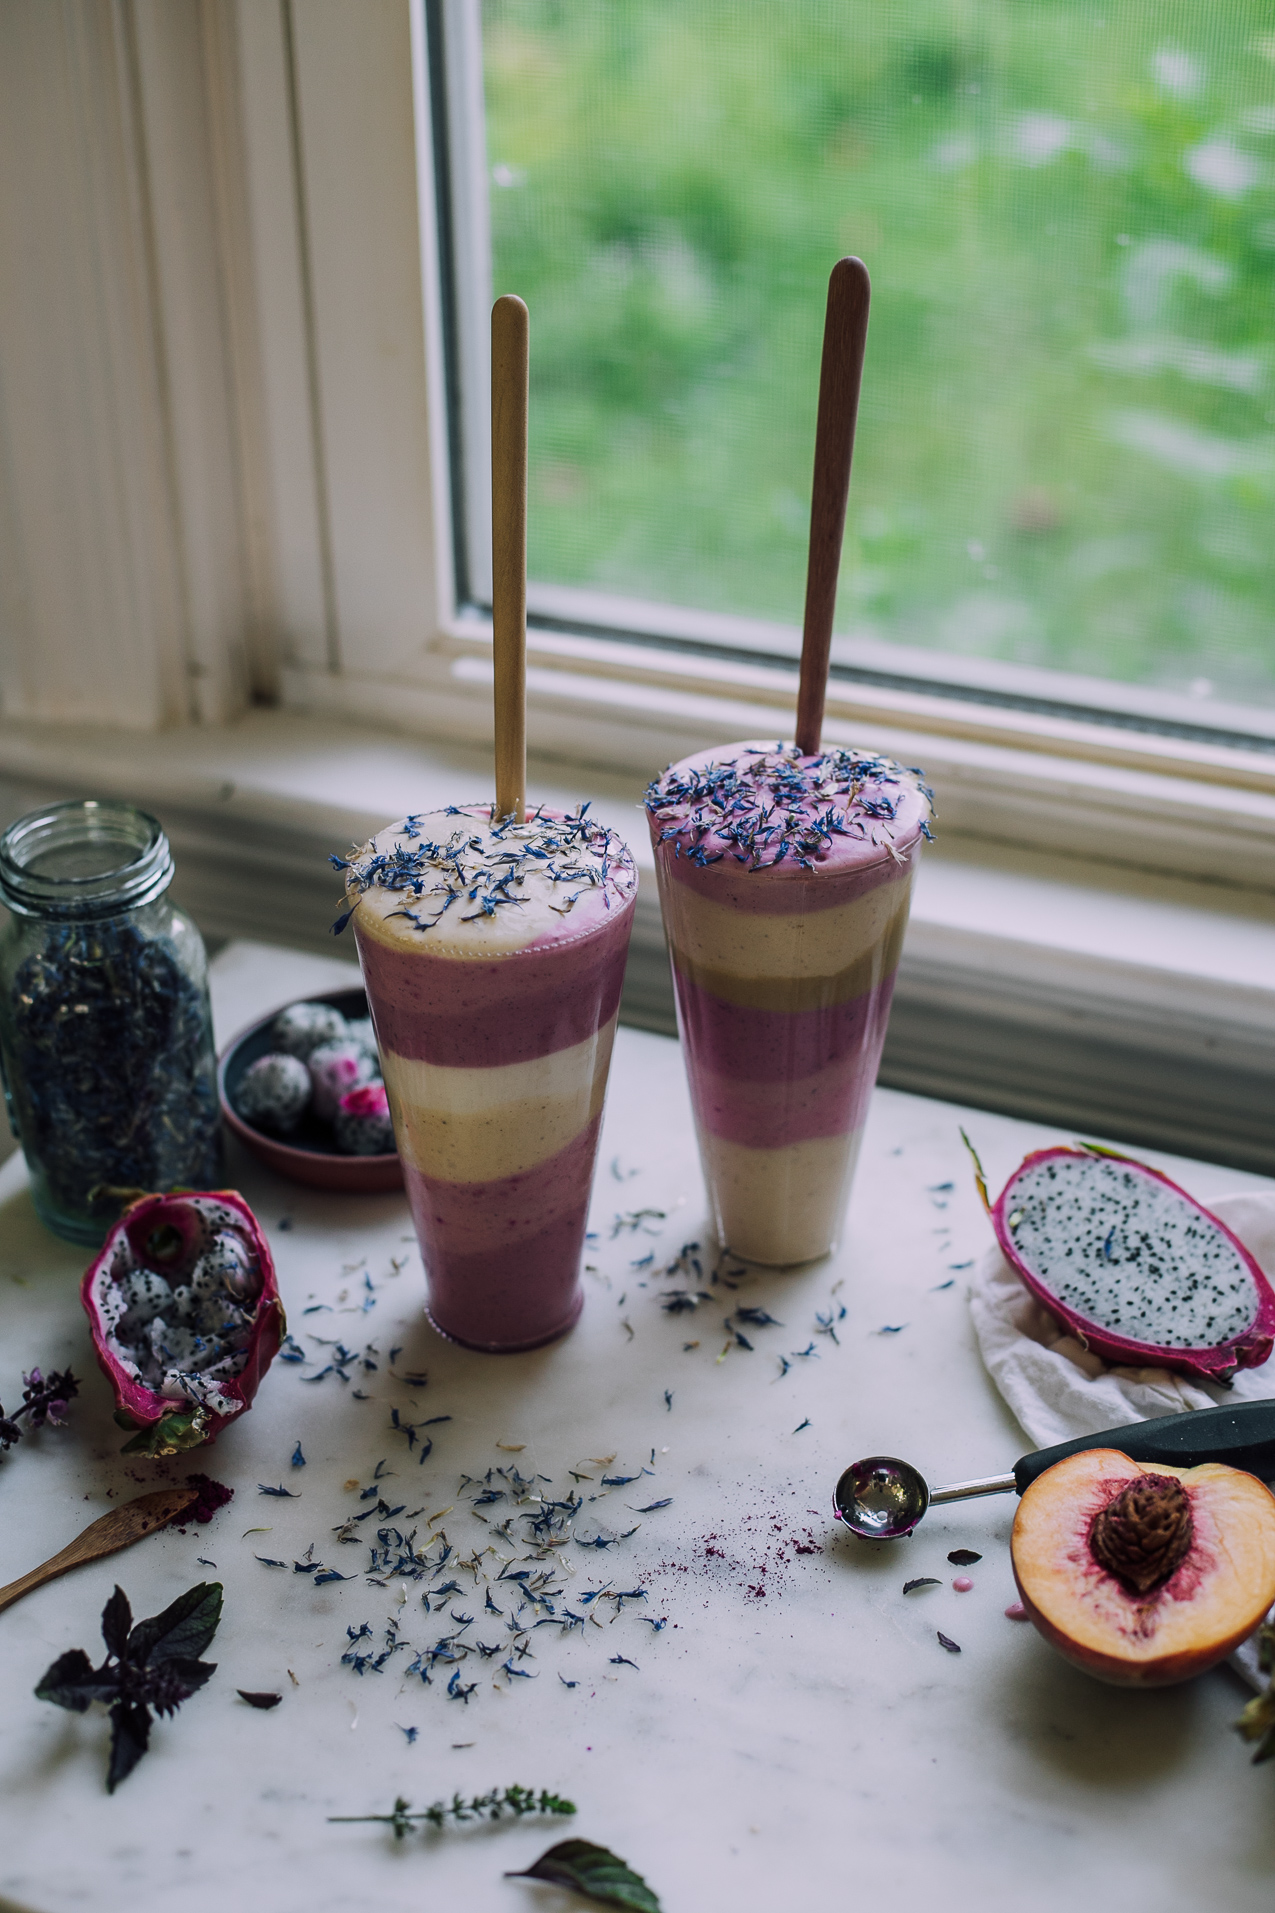
- For the layers: make sure your pitaya powder is very fine. I run mine through a spice grinder or classic coffee grinder before blending. Pour half of the smoothie into two separate bowls. For the darkest and most vibrant layer: add 3/4 tablespoon pitaya powder to the blender along with 3 blackberries and blend on high until the smoothie is creamy. Add more pitaya powder if you want a darker color, then blend again. For the pale pink layer: stir ~1 teaspoon pitaya powder into one of the smoothie filled bowls.
- Layer it up: spoon a two inch layer of the darkest color smoothie into the bottom of your glass. Follow that with a pale pink layer. Then a layer of uncolored smoothie. Then a layer of coconut yogurt. Then add tahini as you like. And repeat. Do the process in opposite (lightest layer first, going to darkest) for the reverse color combo.
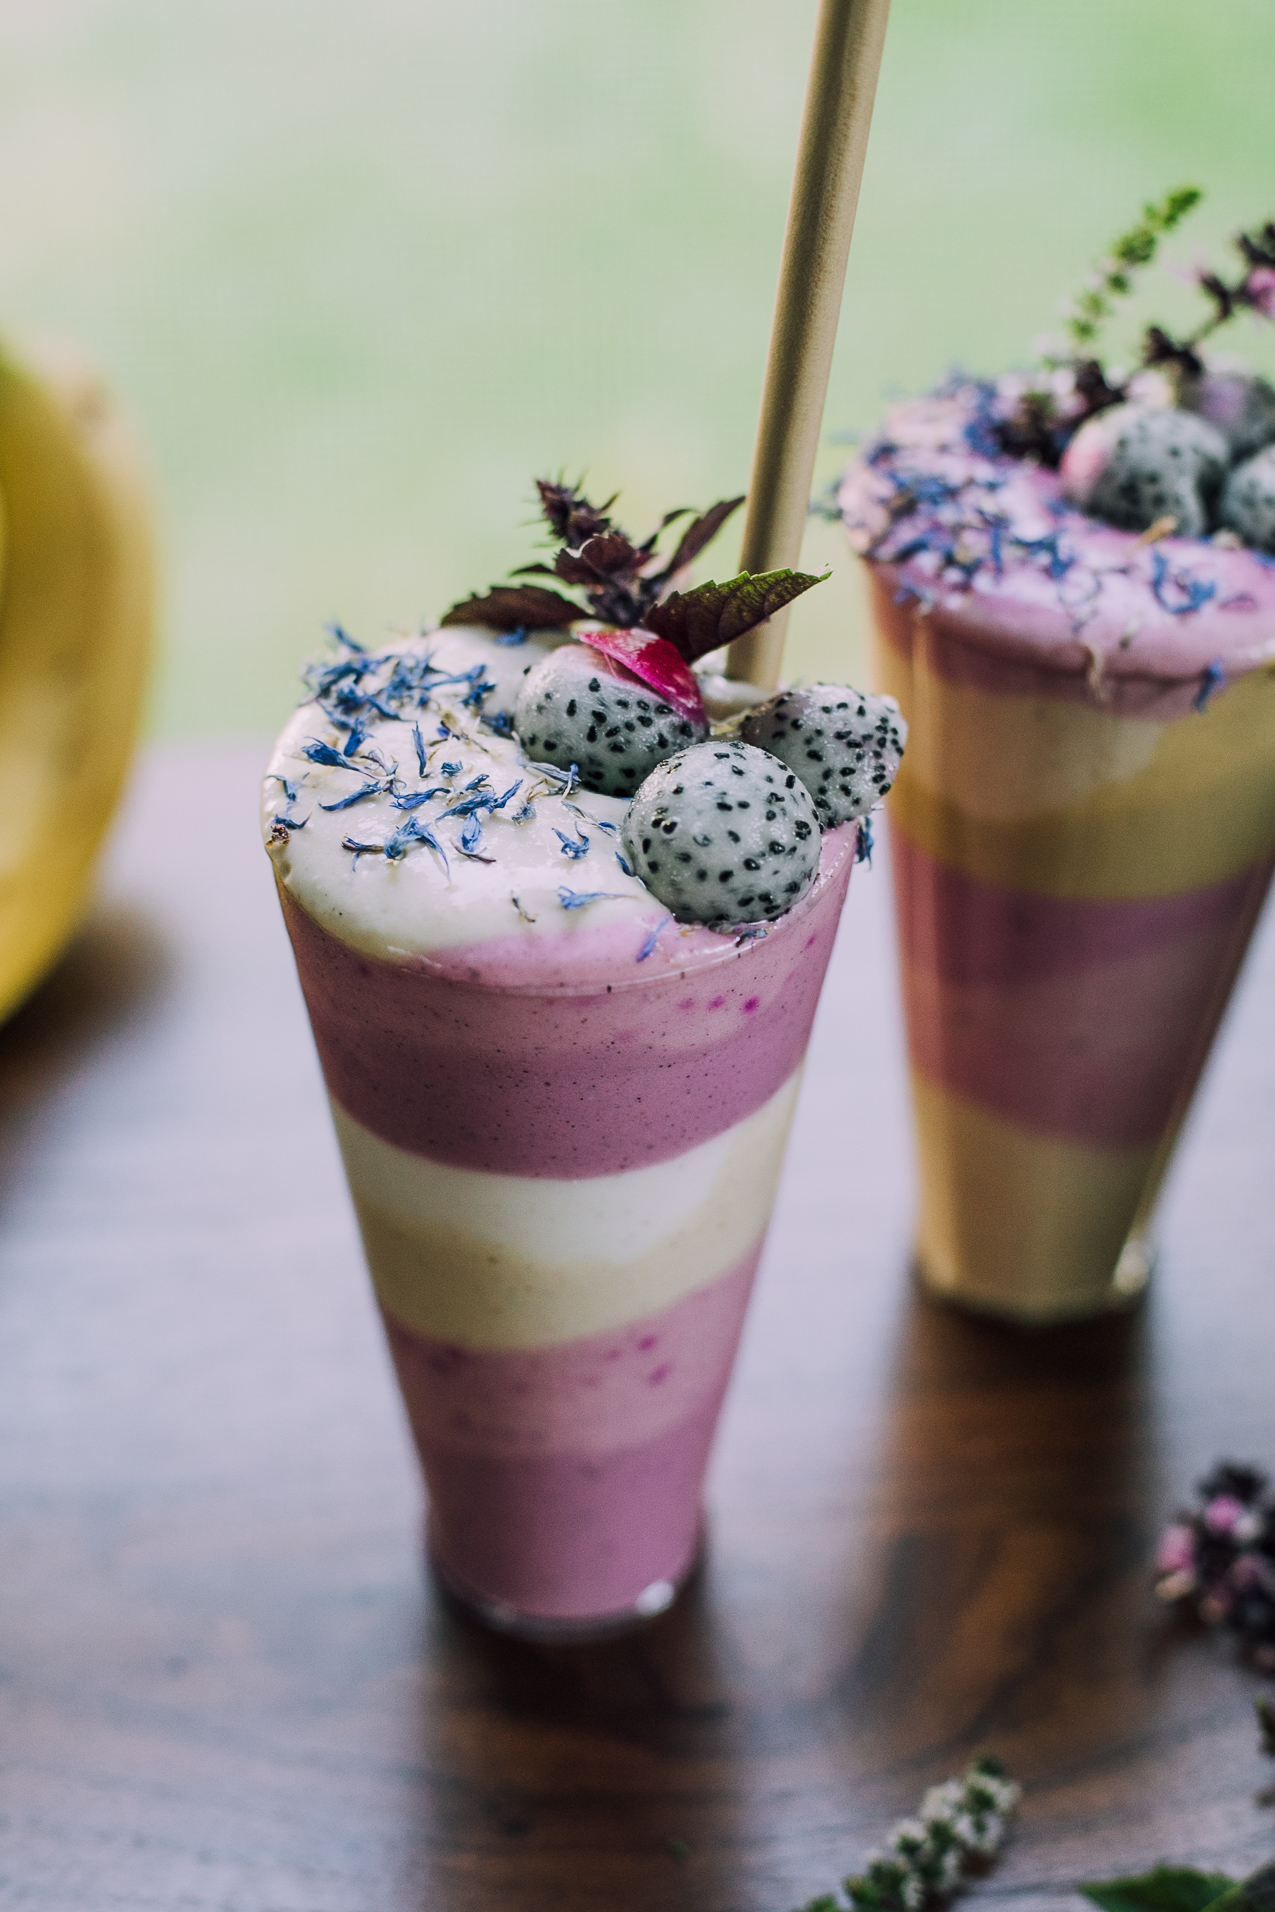
- Top with fresh fruit, edible flowers or whatever you like!